As an Amazon Associate, we earn from qualifying purchases. Some links on this site are affiliate links at no extra cost to you. Our recommendations are based on thorough research and editorial judgment.

How Do I Fix a Flat Tire on the Road Quickly?
To fix a flat tire quickly on the road, we first assess the situation, checking for visible damage. We make certain to follow safety precautions—finding a level area, activating hazard lights, and wearing high-visibility clothing. Essential tools like a tire repair kit, jack, and portable compressor are at hand. We can replace the flat with the spare or perform a temporary plug repair. After re-inflating the tire, we check all connections to ascertain safety. We’ll explain the specific processes for you as we continue.
Key Takeaways
- Ensure safety by moving to a level area, activating hazard lights, and setting up reflective triangles.
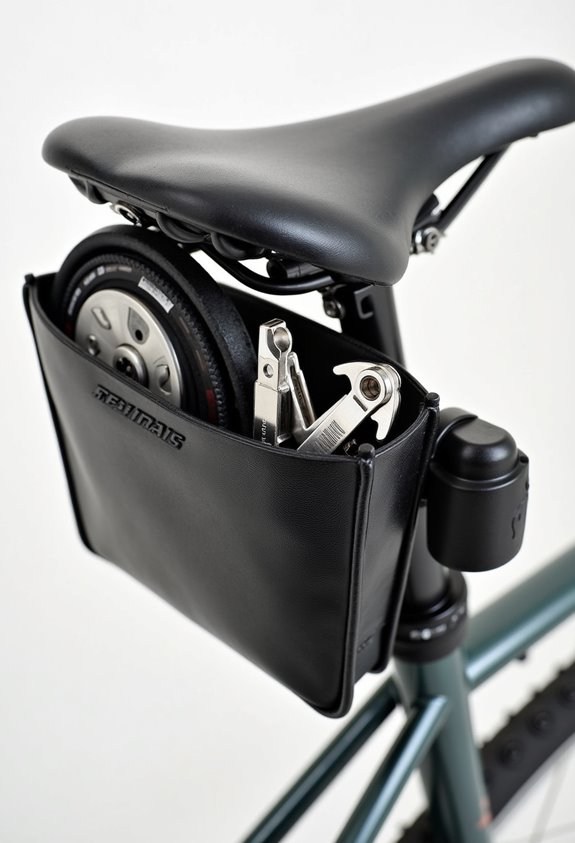
- Gather essential tools like a tire plug kit, pliers, and a cutting tool for efficient repairs.
- Clean the puncture area, remove the object, and ream the hole before inserting the plug.
- Insert the plug strip using the insertion tool and trim excess material for a flush finish.
- Monitor the repair for any gaps and ensure all tools are stored securely before resuming drive.
Assessing the Situation and Preparing for Repairs
You may be interested
When we encounter a flat tire on the road, it’s vital to quickly assess the situation and prepare for repairs. First, we conduct a tire inspection to identify visible punctures, embedded objects, or sidewall cuts. A hissing sound may indicate a continuing air leak, so we listen carefully.
Next, we need to check the condition of our spare tire. It’s important to confirm it’s present, accessible, and properly inflated. We should also verify the spare tire’s type—whether it’s full-size, compact, or alternative. Additionally, we confirm that our tire-changing tools, like a jack and lug nut remover, are ready for use. This systematic assessment sets the stage for effective flat tire repairs on the spot. Having reliable bike tire levers at hand can significantly streamline the repair process.
Safety Precautions Before You Begin

Before we start changing a flat tire, it’s vital that we prioritize safety by taking several precautions. First, let’s find a safe, level area off the road to avoid traffic. We should pull as far onto the shoulder as possible, using barriers like guardrails for added safety.
Next, we must guarantee maximum roadside visibility. Let’s activate our hazard lights and place reflective triangles behind the vehicle. All occupants should exit on the side away from traffic and wear high-visibility clothing if available.
Additionally, engaging the parking brake is critical to prevent any rolling. We need to minimize our presence near traffic, allowing only those involved in the repair to assist. By following these steps, we enhance occupant preparedness and reduce risks. Furthermore, ensuring your tires are equipped with anti-puncture technology can significantly reduce the chances of experiencing flats while on the road.
Essential Tools for Quick Tire Repair

Having established safety precautions, we now need to gather the right tools for a quick tire repair. Here’s a list of essential tools we should prepare:
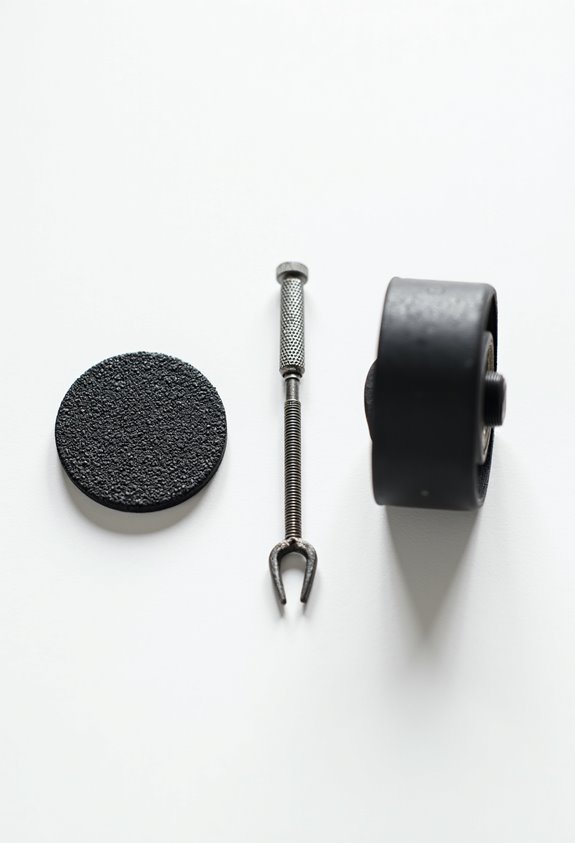
- Tire Repair Kit: This includes plugs, rasp tools, and insertion tools for sealing punctures. It may also have tire sealant liquids for slow leaks.
- Portable Air Compressor: Easily connects to the vehicle’s 12V outlet, quickly inflating tires and restoring pressure.
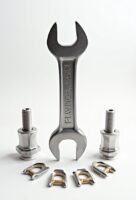
- Lug Wrench and Jack: We need various lug wrenches for different torque needs, along with a stable jack to safely lift the vehicle.
- Additional Tools: A tire pressure gauge, breaker bar, and heavy-duty gloves enhance our efficiency and safety. Additionally, having a reliable bike puncture repair kit can ensure you are well-prepared for unexpected flats on your rides.
Removing the Flat Tire Efficiently

To remove a flat tire efficiently, we must follow a systematic approach that prioritizes safety and stability. First, we’ll pull the vehicle to a level area, engage the parking brake, and place wheel chocks opposite the flat tire. Remember to turn on hazard lights for visibility. Next, using tire removal techniques, we’ll loosen the lug nuts in a star pattern to guarantee wheel stability. We’ll then use the jack at the recommended points, lifting the vehicle just enough to clear the tire. Once all lug nuts are removed, we’ll hold the tire firmly and gently wiggle it if it’s stuck. Finally, we’ll place the flat tire safely away from the work area and keep the area organized. Additionally, having a compact repair kit can significantly enhance your ability to address tire issues quickly while on the road.
Recommended Products

Tire Changer - Rim clamping outside 10"-18" / Rim clamping inside 12"-21"


Dual turntable foot pedal more conveniently to operate rim clamping outside 10" - 18" rim clamping inside: 12" - 20" motor horsepower 2.0 horsepower strong motor
Installing the Spare Tire Correctly

When we install a spare tire, it’s vital that we approach the task methodically to guarantee safety and proper function. First, we verify the spare tire meets the vehicle’s specifications by checking its pressure and condition. If it’s flat, we can’t proceed.
Next, we align the spare tire holes with the wheel studs. It’s critical that the tire sits flush against the hub. Hand-tighten the lug nuts in a star pattern, distributing pressure evenly.
Once snug, we leave them loose until the vehicle is lowered. After lowering, we tighten to the manufacturer’s torque specifications for peak performance. Additionally, checking the material durability of the spare tire can help ensure its reliability during use.
Finally, we double-check the alignment with wheel alignment tips before driving at reduced speeds to assure a safe journey ahead.
Temporary Repair Methods for Quick Fixes
Temporary repairs can be essential when we face a flat tire on the road. For quick fixes, we can utilize tire plug kits and puncture sealants. These methods are effective for small punctures located on the tread.
Tire Plug Kits
With a tire plug kit, we insert a plug into the punctured hole using specialized tools.
Puncture Sealants
Puncture sealants, on the other hand, provide another option. They’re injected into the tire to seal small leaks temporarily. Many sealants can effectively seal punctures up to 1/4 inch in size, making them a practical choice for quick repairs.
Plug Types Comparison
In our tire sealants review, it’s important to note that there are various plug types. Rubber plugs often work for surface level punctures, while vulcanizing plugs offer a more permanent solution.
Ultimately, understanding these temporary repair methods keeps us safe and mobile until we can reach a professional.
Conducting a Quick On-Road Plug Repair
Conducting a quick on-road plug repair requires a systematic approach to guarantee safety and effectiveness. First, we need our essential tools: a tire plug kit, pliers, and a cutting tool. We should clean the puncture area and mark it for identification. Carefully remove the embedded object using pliers.
Next, we’ll ream the hole with the reaming tool and clean out debris. A plug strip goes into the insertion tool. After lightly lubricating the plug, we insert it firmly until two-thirds are inside. We’ll then cut off excess material flush with the tread.
Finally, we inspect our work for gaps, reapply rubber cement if necessary, and store our tools for future plug repair techniques, ensuring effective tire puncture solutions. Using high-quality materials in tire liners can also significantly reduce the likelihood of encountering punctures on the road.
Inflating the Tire and Ensuring Proper Pressure
Inflating a tire correctly is essential for maintaining vehicle safety and performance. We should always refer to the manufacturer’s recommended pressure on the tire placard, which typically ranges from 30 to 35 psi for passenger cars. For effective tire maintenance, check the pressure when tires are cold—ideally after three hours of parking.
To inflate the tire, use an air compressor, making sure we avoid exceeding the max pressure shown on the tire’s sidewall. After inflation, we must verify the pressure again with a gauge to make necessary pressure adjustments. Regular monitoring—ideally monthly—helps maintain peak performance and minimizes risks of blowouts or poor handling. Keeping our tires properly inflated guarantees safety and enhances fuel efficiency. Additionally, using a pump with a precision pressure gauge ensures accurate measurements and prevents overinflation.
Final Checks and Safety Tips Before Driving
Visual Inspection
Let’s visually check all tires for cuts, nails, and any signs of damage. Additionally, inspect tread depth for evenness.
Spare Tire and Tools
We should verify the spare tire’s pressure meets manufacturer recommendations and confirm that our tire-changing tools are in good condition.
Safety Precautions
Next, we must verify the spare tire is securely mounted and all lug nuts are tightened. We should also drive cautiously, especially if using a temporary spare.
Emergency Signaling
Lastly, don’t forget to engage hazard lights and use reflective triangles if we encounter difficulties, enhancing our visibility and safety on the road. Additionally, ensuring our tire pressure maintenance is up to standard can prevent future issues and improve overall safety.
Prioritizing effective tire maintenance confirms our safety.
Frequently Asked Questions
How Can I Tell if My Tire Is Truly Flat?
Did you know nearly 30% of drivers have underinflated tires? To tell if your tire’s flat, we should perform a visual inspection, checking for bulging or low appearance, and monitor tire pressure regularly.
What Should I Do if I’m Not Comfortable Changing the Tire?
If we’re not comfortable changing the tire, we should call professional help or roadside assistance. It’s safer to wait for experts to handle it, ensuring our vehicle’s properly taken care of and we’re secure.
Can I Drive on a Flat Tire for a Short Distance?
Flat tire myths often mislead us into thinking we can drive safely on a flat. We shouldn’t take chances; even short distances risk serious damage. Temporary fixes aren’t a substitute for addressing the issue urgently.
How Often Should I Check My Spare Tire’s Condition?
We should check our spare tire’s condition monthly, focusing on tire pressure and overall maintenance. This guarantees it’s always ready for emergencies, preventing any surprises when we need it most. Let’s stay proactive!
What Are Signs of a Tire That Needs Replacement Instead of Repair?
We should watch for tire wear like sidewall damage, bulges, or tread below 2/32 inch; these are replacement signs. Regular checks can help guarantee our tires stay safe and effective on the road.