As an Amazon Associate, we earn from qualifying purchases. Some links on this site are affiliate links at no extra cost to you. Our recommendations are based on thorough research and editorial judgment.

How Do I Fix a Broken Spoke While Cycling?
If we encounter a broken spoke while cycling, we should first identify the damage. Look for visible signs such as cracks or bends and check for any wobble in the wheel. We’ll need a spoke tool to adjust the tension and a replacement spoke for repair. After removing the wheel, we can loosen the nipple of the broken spoke, extract it, and replace it with a new one. Understanding spoke types is essential for a secure fix, and we’ll guide you further.
Key Takeaways
- Identify signs of a broken spoke by checking for cracks, bends, or unusual wheel wobbling.
- Use a spoke tool to temporarily secure or replace the broken spoke while on the go.
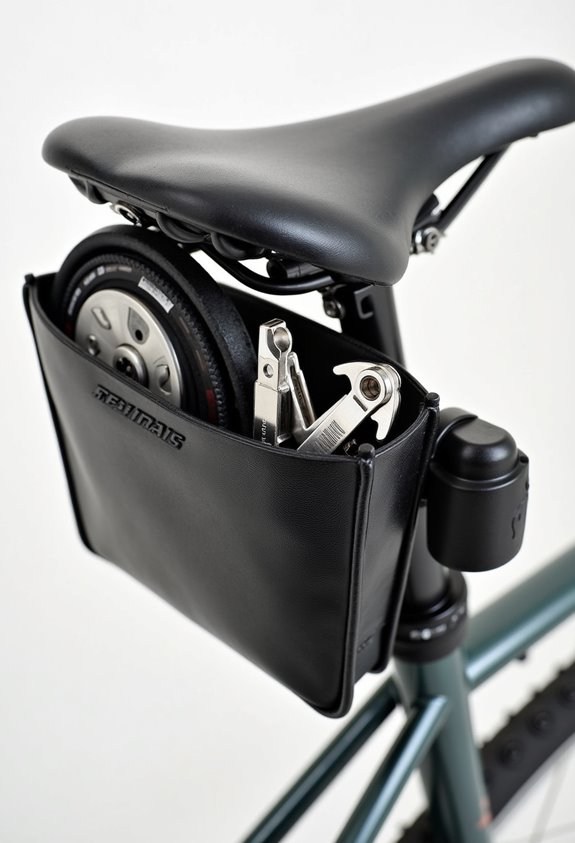
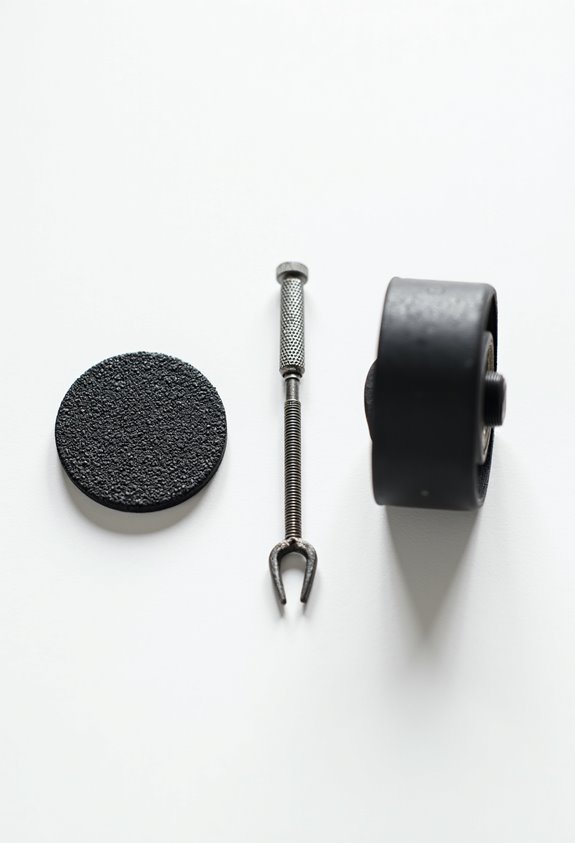
- Carry emergency repair kits, including spare spokes and fishing line, for quick fixes.
- Loosen the nipple of the broken spoke and carefully remove any fragments prior to replacing.
- Regularly maintain your bike to prevent spoke breakage and ensure overall wheel integrity.
Identifying the Broken Spoke
You may be interested


When we’re checking for a broken spoke, we should start by looking for clear visual signs. During spoke inspection, we need to check for visible cracks, kinks, or bends. Missing or snapped spokes can often be seen detached from the nipple or hub.
Next, we should pay attention to the wheel’s behavior. An unusual wobble during spinning often indicates breakage. We may also notice rust, especially near threading, which can be a precursor to breakage.
For a thorough breakage detection, we can manually pluck spokes to listen for uniform sounds; a flat sound may indicate trouble. Finally, we ought to examine spoke tension visually. Any slack or hanging spokes should raise concern, signaling potential breakage needing further investigation. Additionally, using the proper tools, such as high-quality tools made from hardened steel, can make the repair process more efficient and effective.
Tools Required for Spoke Repair

Effective spoke repair requires specific tools that facilitate a smooth and efficient process. First, our tool selection should include a spoke tool (wrench) for adjusting spoke tension. A floor pump is vital for maintaining tire pressure during repairs. We also need a chain whip and cassette removal tool paired with a 1” wrench to remove the cassette and access rear spokes.
Additionally, we’ll require replacement spokes and nipples to guarantee a secure fit. For tire removal, tire levers are useful. A truing stand and dishing tool can help us verify wheel alignment. Safety measures, such as leather gloves and safety goggles, are essential. By systematically preparing these tools, we enhance our repair techniques and guarantee a successful spoke replacement. Regular maintenance with tools like a bicycle chain checker can help prevent issues such as broken spokes by ensuring overall bike performance.
Removing the Broken Spoke

To begin the spoke repair process, we must first remove the broken spoke. Start by taking off the wheel from the bike. This gives us full access to the broken area while considering the type of brakes our bike has. We then need to clear debris around the spoke hole and check for any rim damage.
Next, we’ll engage in spoke removal. Using a spoke wrench, we’ll loosen the nipple attached to the broken spoke, turning it counterclockwise. If fragments remain in the nipple, we’ll use pliers for careful nipple extraction. After that, we’ll unthread the spoke from the hub without disturbing nearby spokes. Finally, let’s make certain the workspace is clean and organized to prevent losing any small parts during this process. Additionally, having a compact repair kit on hand can expedite the repair process, ensuring you have the necessary tools for quick fixes while on the trail.
Sourcing Replacement Spokes

Sourcing replacement spokes is vital for maintaining the integrity and performance of our bike’s wheels. We need to take into account several material options like stainless steel, aluminum, or carbon fiber, each offering unique performance characteristics. For local sourcing, bike shops can provide immediate availability and expert advice on gauge selection.
When planning online purchasing, we should verify spoke compatibility with our wheel’s hub and rim type. Additionally, measuring spoke lengths accurately is fundamental, often done using a spoke calculator. This helps guarantee that we choose the right gauge size, which typically ranges from 14g to 15g. Fast delivery options are available at many online retailers, facilitating urgent requirements. Custom spokes may be needed for specific builds, making precise measurements vital. The importance of proper gauge selection cannot be overstated as it ensures optimal performance and safety during rides.
Understanding Spoke Types

Understanding the various types of spokes is essential for optimizing our cycling performance and safety. Spoke materials greatly impact our bike’s overall durability and weight. Common choices include stainless steel for its balance of strength and cost-effectiveness, and carbon fiber, ideal for high-performance racing despite its higher price.
When we look at spoke types, we find various shapes and designs. Round spokes are durable and user-friendly but lack aerodynamic features. Bladed spokes reduce drag for road bikes, while oval spokes offer a balance between these characteristics. We also encounter butted spokes, which vary in thickness to optimize strength and weight, making them suitable for different cycling disciplines. Selecting the right spoke type influences our cycling experience. Additionally, the quality of material used in cycling shorts can enhance overall riding comfort and performance.
Recommended Products

Carbon wheelset built for an aero advantage

Rim Material: carbon

Ultralight High-Modulus Carbon Construction Push your climbing limits with the ICAN Aeris series. By utilizing premium high-modulus carbon fiber, we’ve achieved a staggering weight of only 1065g (40mm) and 1140g (50mm). This record-breaking lightness ensures explosive acceleration and a "weightless" feel on the steepest gradients.
Installing the New Spoke
When installing the new spoke, we must follow a systematic approach to guarantee proper alignment and tension. First, we insert the threaded end of the spoke through the empty hole in the hub, ensuring the right positioning depending on the wheel design. We align the spoke according to the existing spokes, maintaining the correct lacing procedure.
Next, we carefully guide the spoke over and under the crossing spokes. It’s important to flex the spoke gently to prevent damage. Using a spare spoke as a poke tool can help us thread the nipple securely into deep-section rims. Finally, we check that the new spoke is fully seated and follows the lacing pattern, ready for initial tightening and further adjustments. Regular chain cleaning is essential to ensure optimal bike performance during rides.
Tensioning the New Spoke
Tensioning the new spoke is a critical step in restoring wheel integrity, as it guarantees both strength and durability. We begin by tightening the spoke nipples gradually. First, we tighten all nipples until the last thread of the spoke disappears. Then, we apply additional turns until the drive side tension reaches about 70-80% of the target tension, typically around 80 kgf.
Using a spoke tension meter helps that all drive side spokes are equal in tension. Next, we repeat the process for the non-drive side spokes to balance the wheel dish. It’s crucial to use a proper spoke wrench, making small, consistent turns to avoid over-tightening, which can distort the shape of the wheel. Regular measurements help maintain uniform tension across the wheel. Additionally, utilizing tools made from durable materials can enhance the longevity and performance of your spoke adjustments.
Truing the Wheel After Installation
Truing the wheel after installing a new spoke is vital for achieving ideal performance and safety in cycling. First, we should securely mount the wheel in a truing stand or the bicycle frame, guaranteeing stability. We’ll remove the tire and tube, allowing for accurate rim alignment observations.
Next, spinning the wheel helps us identify any lateral wobbles using reference markers. We need to tighten spokes opposite the deviation and loosen adjacent spokes as necessary to maintain balance.
For radial truing, small adjustments will help correct vertical rim deviations. It’s essential to check both lateral and radial alignment after each adjustment. Finally, we must verify proper dish alignment and stress relief to maintain wheel stability. Additionally, ensuring the correct clamp diameter will support optimal performance and safety during rides.
Temporary Fixes for Riding Home
Understanding how to implement temporary fixes for a broken spoke is essential for ensuring a safe ride home. First, we can use emergency repair kits. These kits often include a spare spoke, fishing line, and pliers. Form a loop in the spoke, then weave the fishing line over adjacent spokes for support.
Alternatively, we might craft a temporary spoke using a longer spoke, bending it to match the original’s shape. If we can’t remove the broken spoke, tying it securely to adjacent ones will help stabilize the wheel. Additionally, consider carrying bar end plugs as a precaution, as they protect the handlebars and can help prevent damage during unexpected incidents.
Remember to ride cautiously, avoiding rough terrain. Always prioritize safety, as these temporary fixes are designed solely for getting us home until we can seek a professional repair.
Signs You Need Professional Help
When we notice signs of severe damage to our bike wheel, it’s essential to seek professional help. Ignoring these issues can seriously compromise wheel safety. Here are some critical signs:
- Visible Warping or Buckling: If your wheel rim appears bent, it signals structural problems that require expert attention.
- Multiple Broken or Loose Spokes: This typically means the wheel’s integrity is compromised and needs specialist re-tensioning.
- Unusual Noises: If we hear clicking or grinding sounds while riding, it often indicates deeper damage.
In these cases, our repair readiness might not be adequate. Professional mechanics possess specialized tools and skills needed to address complex issues, ensuring our cycling remains safe and enjoyable. Additionally, waterproof features in bike accessories can help protect your phone and other valuables during unforeseen weather conditions. Don’t hesitate to reach out to them when issues arise.
Importance of Routine Maintenance
Routine maintenance is essential for the longevity and performance of our bicycles, as it helps us avoid unexpected failures and enhances our riding experience. Through regular routine inspections, we can identify minor issues before they escalate, ensuring component longevity. By implementing preventative measures like cleaning and lubricating parts, we optimize performance and reduce friction, which contributes to smoother rides and responsive handling.
Additionally, prioritizing safety enhancements, such as checking brakes and tire pressure, keeps us safe on the road. This proactive approach not only improves our cycling experience but also promotes cost efficiency, as addressing small problems early saves us from costly repairs later. Overall, routine maintenance is key to enjoying reliable, efficient rides.
Preserving Wheel Longevity and Safety
Maintaining wheel longevity and safety is crucial for a smooth and secure cycling experience. Regular wheel inspections help identify weak spokes and rim wear early. We can avoid spoke fatigue with consistent spoke maintenance.
Proper tire safety practices, like maintaining correct pressure, improve wheel integrity. Correct inflation—typically around 8 atm in the rear and 7.5 atm in the front—protects both tires and rims.
Adopting effective cleaning techniques is necessary; avoid power washers, as they can damage components.
Lastly, we must be mindful of our riding habits. Reducing impacts and careful handling during transport enhance wheel durability. Together, these steps guarantee our wheels remain safe and functional over time.
Frequently Asked Questions
How Can I Tell if My Wheel Is True?
To tell if our wheel’s true, we should check wheel alignment by observing lateral movements during rotation. We’ll also use spoke detection tools to confirm even tension and identify any significant deviations from true.
What Are the Signs of an Improperly Tensioned Spoke?
We’ve all felt that unsettling wobble in our wheels, haven’t we? Spoke tension issues reveal themselves through clicking noises, wobbly alignment, and a bumpy ride, signaling it’s time to check our bike’s stability.
Can I Replace Just One Spoke or Do I Need to Do All?
We can replace just one spoke for quick wheel maintenance, especially if it’s minor damage. However, if several spokes are broken, we should consider a complete replacement for better stability and performance.
How Often Should I Inspect My Spokes for Damage?
Like a well-tuned orchestra, our bike’s performance relies on spoke maintenance. We should schedule regular inspections monthly, especially after rough rides, ensuring harmony and safety on our cycling adventures. Let’s keep our wheels true together!
What Types of Complications Can Arise From Riding With a Broken Spoke?
Riding with a broken spoke can lead to wheel stability issues, causing damage acceleration to other spokes and components. Ignoring this can result in costly repairs, decreased ride quality, and increased safety hazards for us all.