As an Amazon Associate, we earn from qualifying purchases. Some links on this site are affiliate links at no extra cost to you. Our recommendations are based on thorough research and editorial judgment.

How Do I Fix a Bike Pump That Won’t Hold Pressure?
To fix a bike pump that won’t hold pressure, we should first inspect for common causes like loose components and damaged hoses. Next, we perform a visual check for cuts or cracks and conduct pressure testing using water for leaks. We should replace worn gaskets and apply lubrication to seals for airtightness. Regular maintenance, such as weekly checks and annual lubrication, is essential. If this problem persists, we’ll uncover further solutions.
Key Takeaways
- Inspect the pump nozzle and valve for any loose or damaged components that could cause air leakage.
- Check the hose for cuts or damage; replace it if any leaks are detected during pressure testing.
- Lubricate seals and gaskets to ensure an airtight connection and minimize the risk of air escaping.
- Regularly verify the accuracy of the pressure gauge to avoid misreading tire pressure and prevent overinflation.
- Ensure the pump chuck is correctly seated on the valve to maintain a proper seal during inflation.
Common Causes of Pressure Loss in Bike Pumps
You may be interested


When we think about fixing a bike pump, it’s important to understand the common causes of pressure loss that can hinder its effectiveness.
Pump Nozzle Issues
A loose or damaged pump nozzle leads to air leakage. Ensuring the nozzle locks properly is critical for maintaining pressure.
Valve Operation
Incorrectly operating the valve can result in significant pressure loss. Tapping the Presta valve pin before connection allows air to flow freely.
Internal Misalignment
Misalignments within the pump can cause air to escape internally. Properly aligning hoses and tubes is essential for airtight operation.
Hose Damage and Gauge Accuracy****
Inspecting the air hose for damage is important. A faulty gauge can mislead us about tire pressure, so accurate measurement tools are important for effective inflation. Additionally, integrated pressure gauges can help monitor tire pressure accurately, preventing under-inflation.
Recommended Products

20 Gallon Air Compressor: Our 3KW oil-free motor drives the compressor up to a speed of 1680 r/min and 10.6 CFM@ 90 PSI air delivery. It is ideal for supporting a variety of pneumatic and air tools, such as nail gun, impact wrench, spray gun, pneumatic screwdriver, best for tire inflation, auto repair, spray painting, woodwork nailing, etc.

Multi-use: Whether you are an at-home mechanic or own a small repair shop, this press is a convenient tool that allows you to easily bend or straighten metal, loosen seized parts, replace bearings, and more
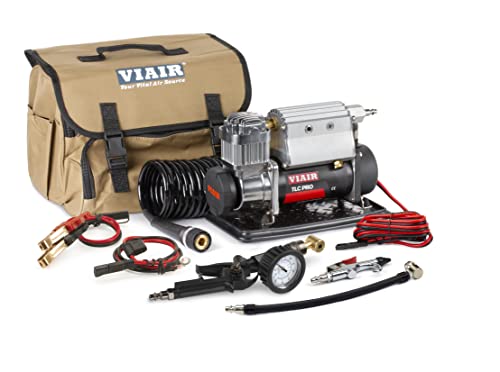
COMPACT COMPRESSOR ON-THE-GO - Whether you are a rider, adventurer, or road-tripper, VIAIR's TLC PRO is your go-to portable air compressor for all of your bicycle and vehicle maintenance needs.
Diagnosis and Inspection Steps

Diagnosing and inspecting our bike pump is essential for guaranteeing proper functionality.
Visual Inspection:
We should start by conducting a thorough visual inspection of the pump components. This includes checking the pump hose for cuts or holes and inspecting the nozzle and chuck for any cracks. We must examine the pump barrel for dents or corrosion and verify the valve attachment mechanism is secure and aligned.
Pressure Testing:
Next, we can perform pressure testing to detect any leaks. Submerging the hose in water can reveal air bubbles, while using soapy water on connections can show slow leaks. Additionally, we should listen for hissing sounds during pumping or monitor the pressure gauge for sudden drops after pumping, indicating potential leaks in critical areas. Maintaining accuracy of gauge is crucial to ensure effective inflation and avoid overinflation.
Recommended Products

100 Pack RedRock Cartridges – This value-packed set of 100 CO2 cartridges ensures you always have a steady supply on hand, reducing the need for frequent repurchasing. Perfect for businesses, technicians, cyclists, and hobbyists who require a reliable and cost-efficient CO2 source.
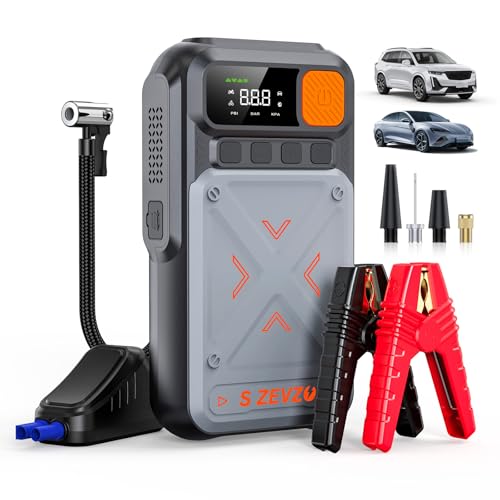
【POWERFUL CAR BATTERY JUMP STARTER】The B29L car battery jump starter can easily jump-start all 12V common vehicles with up to 8.0L gas and 6.0L diesel engines in seconds with its peak current reaching 3500 amps. Supports 30 jump starts at most on a single charge and suitable for lawnmowers, motorcycles, passenger cars, trucks, and even boats, etc. Its powerful start-up performance start function ensures a smooth start even in extreme temperatures, from -4°F to 140°F.

Built-in Air Pump: smoke machine features a built-in air pump, eliminating the need for an external air source, allowing you to perform tests anytime, anywhere. Simply add about 20ml of baby oil or Glycerin (oil not included) to start your testing effortlessly
Repair and Replacement Techniques

Repairing and replacing components of a bike pump is vital for maintaining its efficiency and reliability. First, let’s discuss lubrication techniques. Regularly applying lubricant to the main seal and gaskets guarantees airtightness. For rubber seals, use standard bike grease or silicone spray. For leather gaskets, specialized conditioners like Silca NFS are ideal.
Next, gasket replacement is essential. Examine your pump chuck for worn rubber gaskets that can lead to air leaks. If the air hose shows signs of damage, replace it promptly to prevent pressure loss. Finally, verify the pressure gauge is accurate and replace it if necessary. By focusing on these repairs, we can restore our bike pump’s performance and extend its lifespan considerably. Additionally, regular maintenance is crucial for maximizing component longevity, ensuring that your pump remains reliable over time.
Recommended Products

Versatile Temperature Stable Oil: Super Lube Silicone Oil delivers reliable performance as a low-temp and high-temp lubricant for automotive and machinery applications

Most advanced, high temp RTV silicone gasket available

Multi-purpose white grease 705 is an excellent lubricant for wheel bearings on passenger cars, truck, motorcycles, and boat trailers equipped with conventional brakes
Tools and Materials for Repair

Tools and materials play a significant role in effectively fixing a bike pump. We need basic maintenance tools like hex wrenches, tire levers, and multi-tools. These allow us access to pump components and related bike parts during repairs.
It’s vital to have repair components: spare inner tubes in appropriate sizes, valve cores, valve core removal tools, and patch kits. These items help us address punctures and leaks that compromise pressure.
Lastly, using lubricants and sealants maintains pump integrity. These materials prevent wear and can seal punctures. Having a well-organized small parts box guarantees we can quickly access valves, patches, and nuts needed for addressing issues like pressure loss. By equipping ourselves with these tools and materials, we’re prepared for effective bike pump repairs. Additionally, understanding the importance of durable construction can help ensure the longevity of your pump during use.
Recommended Products

Lucid Ice Inflatable Hydrofoil Board: The inflatable hydrofoil surfboard is made of new reinforced military-grade PVC material, which is lightweight and strong, our hydrofoil board inflatable surfboard package offers exceptional durability and lightweight performance for wingfoil surf, kite surf, and many other water sports enthusiasts.Volume:160L.Size is 200cm x84cm x 12cm.

Lucid Ice Inflatable Hydrofoil Board-The inflatable hydrofoil surfboard is made of new reinforced military-grade PVC material, which is lightweight and strong, our hydrofoil board inflatable surfboard package offers exceptional durability and lightweight performance for wingfoil surf, kite surf, and many other water sports enthusiasts.Volume:160L.Size is 200cm x84cm x 12cm.

2-in-1 Water Bike & Kayak Hybrid for Endless Fun: Revolutionize your water adventures with this 126" x 45.6" x 42.5" innovative inflatable water bike and kayak combo. Featuring 2 high-capacity float tubes and a 304 stainless steel bike system, this hybrid is perfect for cycling or paddling on lakes, rivers, and beaches. Ideal for outdoor enthusiasts seeking a unique and thrilling water experience
Preventative Measures to Maintain Pump Pressure Integrity

To maintain pump pressure integrity effectively, we should adopt several preventative measures that guarantee our bike pumps function at peak performance over time.
Regular Checks
We must verify the recommended tire pressure before pumping and conduct inflation checks weekly. This prevents under- or over-inflation.
Seal Lubrication
Annual seal lubrication is vital. We should use bike grease for rubber seals and confirm a proper application by cycling the pump after greasing.
Proper Use
It’s essential to verify the pump chuck sits correctly on the valve. We should regularly inspect for wear in gaskets and replace them promptly to maintain airtight seals.
Storage Practices
Finally, storing pumps in dry, stable environments will prevent damage from extreme temperatures and prolong the lifespan of our pumps. Additionally, understanding the importance of high-pressure capabilities can enhance our choice of pump for various inflation needs.
Recommended Products

RADICAL COMPLIANCE WITH HIGH LATERAL STIFFNESS AND PREDICTABLE HANDLING: Standard low profile height and width balances the benefits of both radial compliance with high lateral stiffness and predictable handling.

Enhanced durability with forged and machined 6061-T6 aluminum platform, ensuring long-lasting performance on every ride.

Contains: 2 Main Crank Bearings; 7 Transmission Bearings;
Frequently Asked Questions
How Do I Know if My Pump Is Compatible With My Bike Valve?
To determine if our pump’s compatible with our bike valve, we should check the valve types, measure valve diameters, and consider pump adapters for secure fits to prevent leaks during inflation.
Can I Use Any Type of Grease on Pump O-Rings?
We can’t just use any grease for O-ring maintenance! Only silicone grease is recommended, as other grease types might damage the rubber, leading to leaks. Prioritize compatibility to guarantee our pump works seamlessly and lasts longer.
How Can I Prevent My Pump From Freezing in Winter?
To prevent our pump from freezing in winter, we should focus on regular pump maintenance and winter preparation. Insulating hoses, draining water, and storing it indoors can markedly minimize the risk of ice formation.
What Should I Do if My Pump Is Leaking Air While Storing?
If our pump’s leaking air during storage, we should check for leak identification by inspecting gaskets, applying lubrication, and storing it correctly. Following these storage tips will help us prevent further leaks and maintain functionality.
Are There Specific Brands Known for High-Quality Bike Pumps?
When it comes to brand reliability, we can’t overlook Bontrager, Silca, and Topeak. Pump comparisons reveal their exceptional performance, accurate gauges, and durability; choosing the best could be the difference between a smooth ride and frustration.