As an Amazon Associate, we earn from qualifying purchases. Some links on this site are affiliate links at no extra cost to you. Our recommendations are based on thorough research and editorial judgment.

How Do I Use a Chain Breaker Tool Properly?
To use a chain breaker tool properly, we need to follow a few key steps. First, assess our chain for wear and guarantee the tool is clean and operational. Next, set up a stable workspace. Choose the correct slot on the tool for the chain link pin and align it carefully. Apply consistent pressure to push the pin out. After reassembly, check the chain’s movement for smooth operation. We’ll discover more details about each step to guarantee precise use.
Key Takeaways
- Inspect the chain thoroughly for wear, rust, and stiffness before using the chain breaker tool.
- Ensure your workspace is clean, stable, and well-lit to facilitate proper operation.
- Position the chain link in the outer slot of the tool and apply consistent pressure using the push bolt.
- After breaking the chain, align and reassemble the ends carefully to ensure proper seating and compatibility.
- Regularly clean and lubricate both the chain and tool to maintain optimal performance and longevity.
Understanding the Chain Breaker Tool
You may be interested


When we look at the chain breaker tool, we see an essential device for maintaining and repairing various types of chains. This tool consists mainly of a handle, a pin driver, and a frame to securely hold the chain. Different chain compatibility variations let us work with ANSI roller chains, heavy-duty chains, and specialized chains like bicycle or conveyer types. We’re offered several tool material types ranging from lightweight portable designs for DIY tasks to heavy-duty, cast iron tools for industrial use. Some models feature dual rivet pushers for efficiency on specific chains. Understanding these components and variations is vital for achieving proper maintenance and ensuring effective chain repairs without damaging links or pins. Additionally, choosing the right tools can enhance your overall cycling experience by ensuring proper maintenance.
Assessing Your Chain Before Use

Evaluating the chain’s condition is a critical step before use. First, we should conduct a thorough chain inspection. Using a ruler, measure 12 full links; a new chain should be exactly 12 inches. If it exceeds 12 1/8 inches, it’s time for replacement to prevent drivetrain damage.
Next, we should check for chain wear indicators. For most chains, an elongation over 0.75% signals immediate replacement necessity. Additionally, while inspecting, look for any rust or stiff rollers, as these can impair performance.
Finally, before making measurements, verify the chain is clean. Grime can lead to inaccurate readings, so pre-cleaning is essential for reliable results. By diligently evaluating our chain, we safeguard our bike’s performance. Moreover, regular checks of derailleur hanger alignment can further optimize gear shifting and enhance overall bike maintenance.
Setting Up Your Workspace

Setting up our workspace properly is essential for guaranteeing efficiency and safety during the chain-breaking process. First, we should clear the area of debris, metal flakes, and dust. This prevents interference with both the tool and chain parts. Next, we need adequate lighting to see alignment points clearly.
For effective tool organization, let’s keep all necessary items, like the chain breaker and master links, within reach. A stable, flat surface is critical to avoid slipping while applying pressure. Additionally, we should have lubricants ready for post-assembly application to reduce friction.
Before we begin, it’s important to inspect the chain breaker tool for any damage and confirm all components are assembled correctly. This thorough workspace setup sets us up for success. Moreover, using tools made from high-quality materials can enhance durability and efficiency during the chain-breaking process.
Choosing the Correct Slot on the Tool

Choosing the correct slot on a chain breaker tool guarantees efficient operation and protects both the tool and the chain. First, we need to focus on slot identification. Most tools feature two slots: one for straightening kinked links and the other for pushing out pins. Using the appropriate slot optimizes leverage and minimizes the risk of pin breakage.
Next, we should consider slot compatibility. We must select the slot that matches our chain type and width. Incompatible slots can increase force requirements, risking damage to both the tool and the chain. Some tools have adjustable features that allow us to accommodate different chain speeds, ensuring proper slot engagement. Always make sure our chain is seated correctly to avoid issues during use. Regular chain cleaning can also help maintain optimal performance and prevent unnecessary wear on components.
Recommended Products

DEVICE INTERFACE: 14 x NEMA 5-15R Managed Power Outlets (15A max. @ 120V AC); 2 x Gigabit Ports; LED Indicators; LCD Display with Button Controls; Reset Button

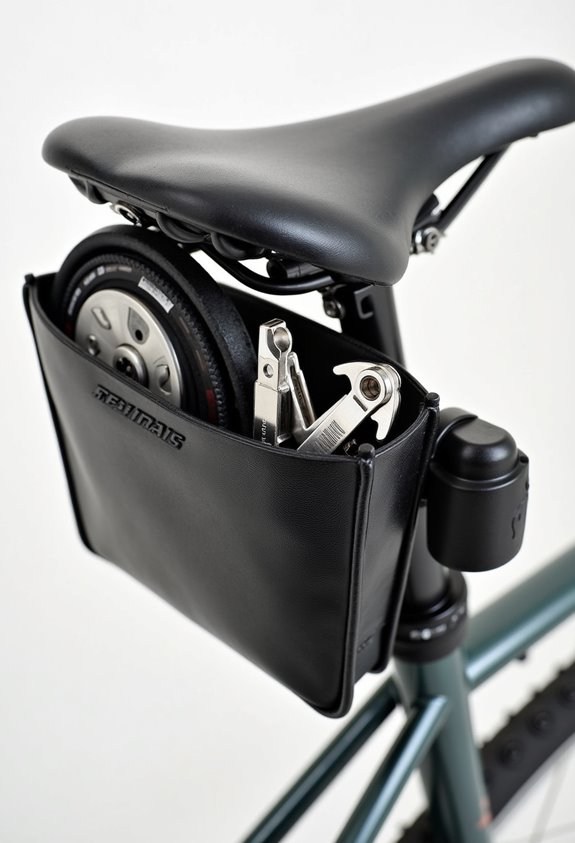
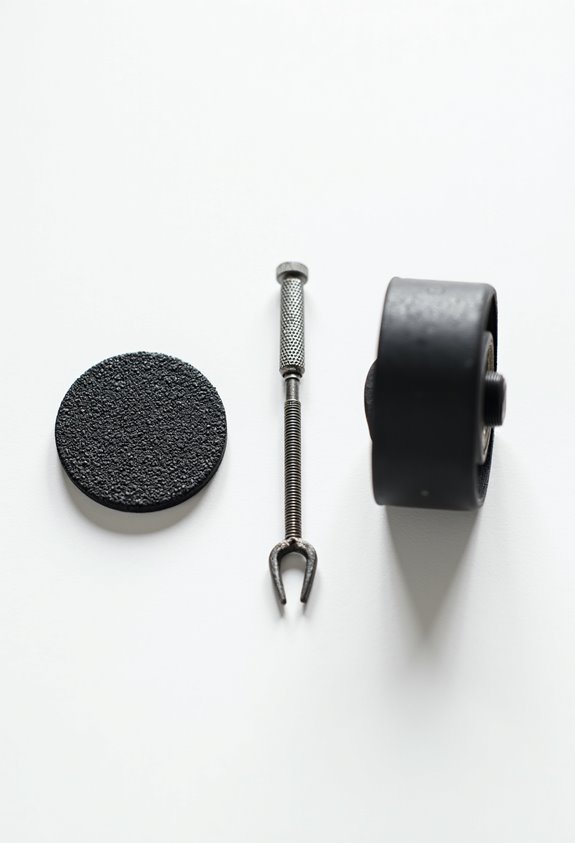
A professional-grade tool designed to drive rivets in and out of any bicycle chain

Material: heat-treated tool steel
Aligning the Chain With the Tool

Aligning the chain with the tool is essential for ensuring a smooth and effective pin removal process. First, we must position the chain breaker tool so that its breaking tip aligns directly with the chain pin to be pushed out. This visual alignment check guarantees the pin remains centered, preventing damage to both the pin and the tool.
Next, we secure the chain in the tool’s designated slot, making sure the side plates fit snugly. Employ chain alignment techniques by tightening the alignment bolt, which stabilizes the chain against the pin. Regular checks of chain wear, such as 0.5% and 0.75% wear, ensure that the chain is in optimal condition for the pin removal process.
Throughout the process, we should perform ongoing tool alignment checks, confirming that the chain remains straight and properly positioned to avoid issues during pin removal.
Recommended Products

DEPENDABLE STRENGTH — This trailer hitch is rated for 4,000 lbs. gross trailer weight, 400 lbs. tongue weight, 6,000 lbs. weight distribution capacity and 600 lbs. weight distribution tongue weight (limited to lowest-rated towing component)

This set allows for easy removal of fan clutches when repairing or replacing water pumps, timing chains or fan clutch

1.【2-in-1 style】: Different from a single chain spinner or chain breaker, this product is integrated with chain connection and chain breaking, which saves space and is more convenient to use.
Initiating the Chain Breaking Process
With the chain properly aligned and secured, we can now begin the chain breaking process. First, we verify our chain tool features are ready. We’ve cleaned out any debris and checked the condition of all components. Next, we retract the pushing pin fully and insert the chain link pin into the outer slot. It’s essential that we confirm the chain is stable and centered before proceeding.
As we gently turn the push bolt counterclockwise, we apply consistent pressure to start pushing the pin out. We should expect some resistance initially. If the chain doesn’t separate after the first push, we can adjust and tighten the push bolt slightly more. This process is critical for effective chain maintenance and prevents tool damage. Regular maintenance of tools, including cleaning and lubrication, is essential for optimal performance and longevity.
Removing the Chain Pin Safely
When removing the chain pin, safety is our top priority. First, let’s verify proper alignment. The chain pin must align precisely with the tool’s driving pin, preventing potential damage. The chain should firmly rest in the tool’s slot, securing the link.
We’ll apply controlled pressure to gently push the pin out. Expect a slight “snap” when the pin is fully released. Stop immediately if the pin starts to protrude; over-driving can lead to breakage.
To maintain safety, we should use gloves and eyewear, keeping fingers clear of the tool’s driving area. After removing the chain, inspect the pin for damage and check the chain plates for any distortion. Proper chain maintenance and tool care can extend equipment lifespan. Additionally, using a chainstay protector can help prevent scratches and maintain your bike’s aesthetics during rides.
Addressing Stiff Links Without Removal
Addressing stiff links in a chain doesn’t always require removal. A stiff link diagnosis starts with observing the chain as it passes over the rear derailleur. If we notice skipping or jumping every few rotations, it’s time to take action.
We can use manual techniques to loosen the link. First, gently twist the stiff link up and down, mimicking the chain’s natural movement. Next, bend it side to side to flex the plates apart. We should repeat this process several times to free the compressed plates.
If these methods don’t work, we’ll need to evaluate tool-assisted loosening. Maintaining our chains guarantees smooth operation, and regular cleaning with specialized bike cleaners can help prevent stiff links from forming in the first place. Remember, persistent stiff links might indicate a need for chain replacement or professional evaluation.
Reassembling the Chain Properly
Reassembling a bike chain properly is essential for peak performance and longevity. First, we must align the chain ends, making certain the outer plate of one link matches the inner plate of the connecting link for chain compatibility. We position the chain on the lower run to avoid twisting. Confirm the chain length by overlapping the ends by one inch.
Next, we use the chain breaker tool. Align the tool’s push pin with the chain pin, tightening slowly to avoid damage. For chains with a master link, make certain proper alignment with arrows indicating travel direction. Additionally, using a multi-tool with chain tools can simplify the reassembly process. Finally, inspect that all links are seated properly, with no gaps. These reassembly techniques will help ensure a smooth, effective ride.
Testing Chain Movement Post-Reassembly
After the chain has been properly reassembled, it’s important to test its movement to confirm ideal performance. We begin by checking chain tension; improper tension can lead to increased friction and wear. Next, we assess chain lubrication, as proper lubrication minimizes friction and guarantees a smooth operation.
Monitoring chain alignment with the chainrings and cassettes is essential, as misalignment can hinder performance.
Performing a friction assessment under load can help simulate real-world conditions, revealing potential issues.
We should utilize tools like chain checkers to measure wear accurately and maintain the best chain health. Additionally, ensuring proper air pressure maintenance in your bike tires contributes to overall cycling efficiency and performance.
Maintenance of the Chain Breaker Tool
To maintain our chain breaker tool in ideal condition, we should routinely follow specific maintenance practices. Regular cleaning is essential—removing dirt and metal shavings guarantees tool longevity. We should clean after every use or at least monthly for frequent users, using a dry cloth or mild solvent.
Lubrication is vital too. A few drops of light machine oil should be applied to the driving pin and pivot points post-cleaning or every few uses.
We must regularly inspect the pushing pin and other components for wear or damage. Finally, proper storage in a dry environment will prevent rust and corrosion, enhancing tool longevity. By adhering to these maintenance frequencies, we can extend the life of our chain breaker tool effectively.
Recommended Products
Trusted by Professionals: Kroil Original Penetrant is a rust penetrating aerosol spray that tackles stuck bolts and frozen metal parts with ease

Trusted by Professionals: Kroil Original Penetrant with Silicone is a rust penetrating aerosol spray that tackles seized bolts and frozen metal parts with ease
![CRC Food Grade Chain Lube 03055 – [Pack of 12] 12 Wt. Oz. Aerosol, NSF H1 Gear, Chain, and Wire Lubricant](https://m.media-amazon.com/images/I/41UFzql7VDL._SL500_.jpg)
CRC INDUSTRIES: A market leader that offers impeccably designed chemical solutions to maintain, protect and repair different marine, heavy-duty motor vehicles, industrial-grade engines, household tools, and electrical equipment
Safety Precautions When Using the Tool
When using the chain breaker tool, it’s vital that we prioritize safety to prevent injuries and equipment damage. First, we should wear personal protective equipment (PPE) like gloves to guard against cuts and to enhance grip. Safety goggles compliant with ANSI Z87.1 are essential for eye protection from metal debris.
We also need to guarantee a secure working environment by clamping the tool in a vise and using a clean, flat surface. This practice helps with stability and accuracy.
While operating, let’s keep our hands clear of moving parts and apply gradual pressure to avoid tool and chain damage. Finally, consistent tool inspections before use enhance injury prevention and promote effective operation.
Common Applications for Chain Breaker Tools
Understanding the various applications of chain breaker tools can enhance our efficiency in maintenance tasks.
Motorcycle Chain Maintenance
We can break and shorten chains to fit specific lengths for installation. Removing old chains entails pushing rivet pins out with mechanical leverage, ensuring alignment to prevent damage. Proper lubrication is essential, especially for X-ring chains.
Bicycle Chain Repair
For bicycles, we might remove or replace damaged sections of chains. Using tool pins allows partial rivet removal, facilitating quick adjustments. We must check for quick release links for faster repairs; otherwise, we can utilize our chain tools to disconnect and reconnect effectively.
Versatility
Lastly, compact chain breaker tools are perfect for roadside repairs, making them essential for all our chain maintenance needs.
Recommended Products
Uses HV type hubs on top end wall

EFFICIENT ANCHORING— Our Pro-Series windlass kits are both reliable and efficient, making your day on the water stress-free. You can simply control the windlass by the push of a button. The built-in manual emergency system makes anchoring easy

SIMPLIFY ANCHORING— Our windlass moves rope/chain with the push of a button. Anchoring has never been easier with our pro-sports windlass kit designed around a highly efficient spur gearbox, using smaller and powerful magnet motors
Frequently Asked Questions
Can a Chain Breaker Tool Damage My Chain?
Absolutely, a chain breaker tool can damage our chain if we don’t employ proper technique. Maintaining chain condition relies on precise alignment and avoiding excessive force; otherwise, the consequences can be both costly and permanent.
How Do I Know Which Size Chain Breaker to Use?
To choose the right chain breaker, we should first identify the chain types we’re working with and check the breaker sizes compatible with those specifications. This guarantees smooth operation and prevents damage during use.
Is It Possible to Repair a Chain Link?
Like a puzzle, repairing a chain link’s possible but tricky. With proper chain link maintenance and our chain replacement tips, we can assess damage and decide if a repair is worth the effort for safe use.
Can I Use a Chain Breaker on Any Motorcycle Chain?
No, we can’t use a chain breaker on any motorcycle chain. Chain compatibility is vital in motorcycle maintenance, as different chains require specific tools to avoid damage and guarantee effective functionality during repairs.
What Should I Do if the Pin Gets Stuck?
Did you know that nearly 30% of chain maintenance issues stem from stuck pins? When faced with a stuck pin, we should gently flex the chain and apply slight pressure reversal to assist in its removal.